Rain was forecast for this morning, but it bypassed South Head altogether. I had decided to water the flower garden at dusk last night, which proved a sensible choice. There are clouds scooting across the sky as I write, and out the window I can see the neighbour across the road riding his farm bike across the paddock. There were black and white cows there last night, but they’ve moved on today.

We had an unwelcome visitor this morning, in the form of a wild rabbit. Not that a pet rabbit would be any more welcome. I’ve seen him a few times lately and hope that he doesn’t make a habit of visiting us, or of bringing his extended family with him!
Outside I can hear ‘kihikihi-wawā’ cicadas (Amphipsalta zealandica), named for their loud chorus in the summer months. And there is a new tui hanging around – I’ll call her a ‘she’ although she could just as well be a male. She sings with just the one repetitive call – a sort of sharp ‘qweel’ sound with the first note dropping off to a lower note, not unlike the sound of a squeaking gate. She started calling this morning at around 5.30 am, right outside the bedroom window. I wonder if she’s looking for a mate as she is usually alone, which is uncommon for the tuis around here. She looks too fat to be a juvenile bird.

On my garden ’rounds’ this afternoon, I spotted a couple of monarch butterflies, coupling on the grass. Then they actually flew away (not sure how), soaring upwards and disappearing over the top of the trees. High on love, I guess.
When I got to the pumpkin patch I was distraught to discover that the hens had scratched up some of our freshly-sprouted melon seedlings. The baby plants had been fenced-in with sturdy sticks, but these had been knocked down, and all that remains is a dusty hollow amongst the wood-chips. The hens are such little monkeys! I had to physically remove Lottie three times or she’d have destroyed several runners on the gherkin vine.
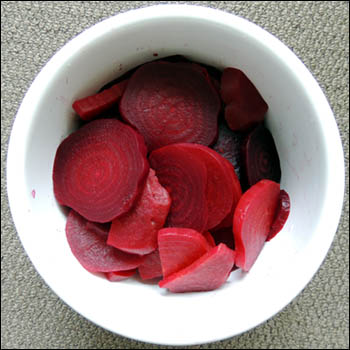
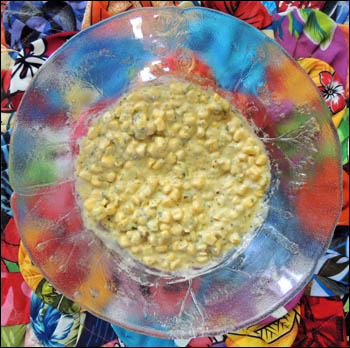
Just the one gherkin ready today, but many more on the way. I know that once they really start ripening I’ll be busy pickling every other day.

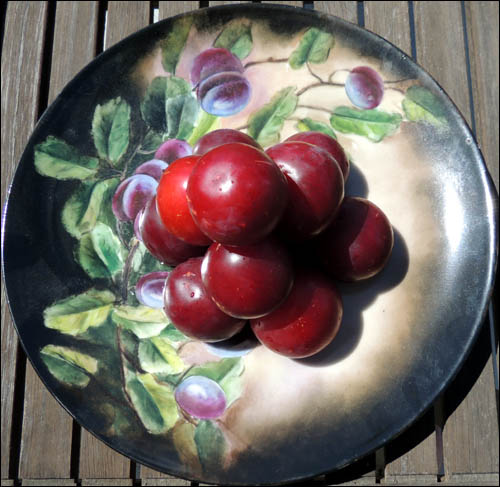
The best remaining plums are either on the other side of the southern fence or at the top of the tree, so we walked around to the back paddock with a ladder to collect a bowl full. Ben will make a plum cake this evening for dessert.
I searched on the internet last night to see if I could find a stockist in New Zealand of electric water bath preservers, but without success. This seems to me the perfect appliance, with all our fruit and vegetables and just the two of us here.
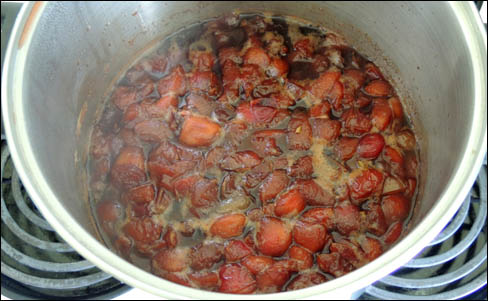
I can smell the plum cake cooking. Yum!
And here come’s my mojito! Time to finish. 🙂


Ode to a Prickly Gherkin (Hei kīnaki mō te kōrero ki runga)
It lay in wait,
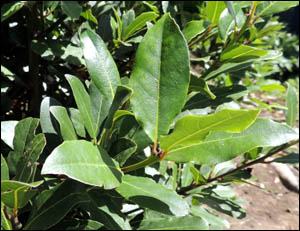
Under lush and scratchy leaves,
Growing from stretching vines,
The curling tips of which reach in all directions,
Towards the sunlight and up and over the old tree stump.
In and out of lush soil and wood-chips,
The tendrils strong enough to forge ahead
Through any obstacle.
It lay in wait,
A fat spiky chrysalis,
Hanging from a woven flax thread,
The flowering tip long dried up,
The skin striped sage and mint green,
Not moving,
Fattening beneath the shelter
Of its mother leaves.
Until I picked it.


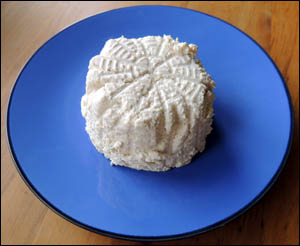
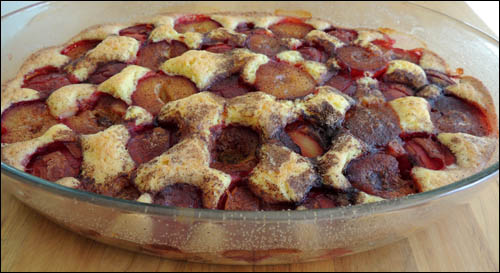
Simple Plum Cake
(Serves 12)
150 grams castor sugar
115 grams softened butter
140 grams plain flour
1 teaspoon baking powder
2 fresh free-range eggs
1 pinch salt
12 freshly-picked plums, pitted and halved
1 teaspoon ground cinnamon
1-2 tablespoons caster sugar, for sprinkling
Preheat oven to 180 C
Beat sugar and butter until fluffy. Mix baking powder with flour and sift into creamed mixture. Beat in eggs and salt. Mix everything well.
Pour mixture into a large greased baking dish and smooth out with a palette knife. The mixture should be about 2-2.5 cm deep. Top with the 24 plum halves, alternate with cut side up. Then sprinkle with the sugar/cinnamon mixture.

Bake in a pre-heated oven on the lowest shelf for about 45 minutes, or until a skewer comes out clean. Cool to room temperature or serve warm.

This recipe has been adapted from the Easy Plum Cake recipe at: http://allrecipes.co.uk/recipe/17476/easy-plum-cake.aspx
It is simple and really delicious. It works just as well with frozen plums, which is why we’ve been freezing so many plum halves over the past few days.